Understanding the Drying Time of Screed: A Comprehensive Guide
When you're involved in a construction or renovation project, one crucial aspect that often arises is understanding how long for screed to dry walk on. This knowledge not only helps in planning but ensures the longevity and stability of your flooring. At Four-Four Finishes, we specialise in a variety of essential services, including floor screeding, plastering, rendering, and more. In this blog, we'll delve into the factors that affect screed drying times and offer some expert advice to ensure a smooth process.
What is Screed?
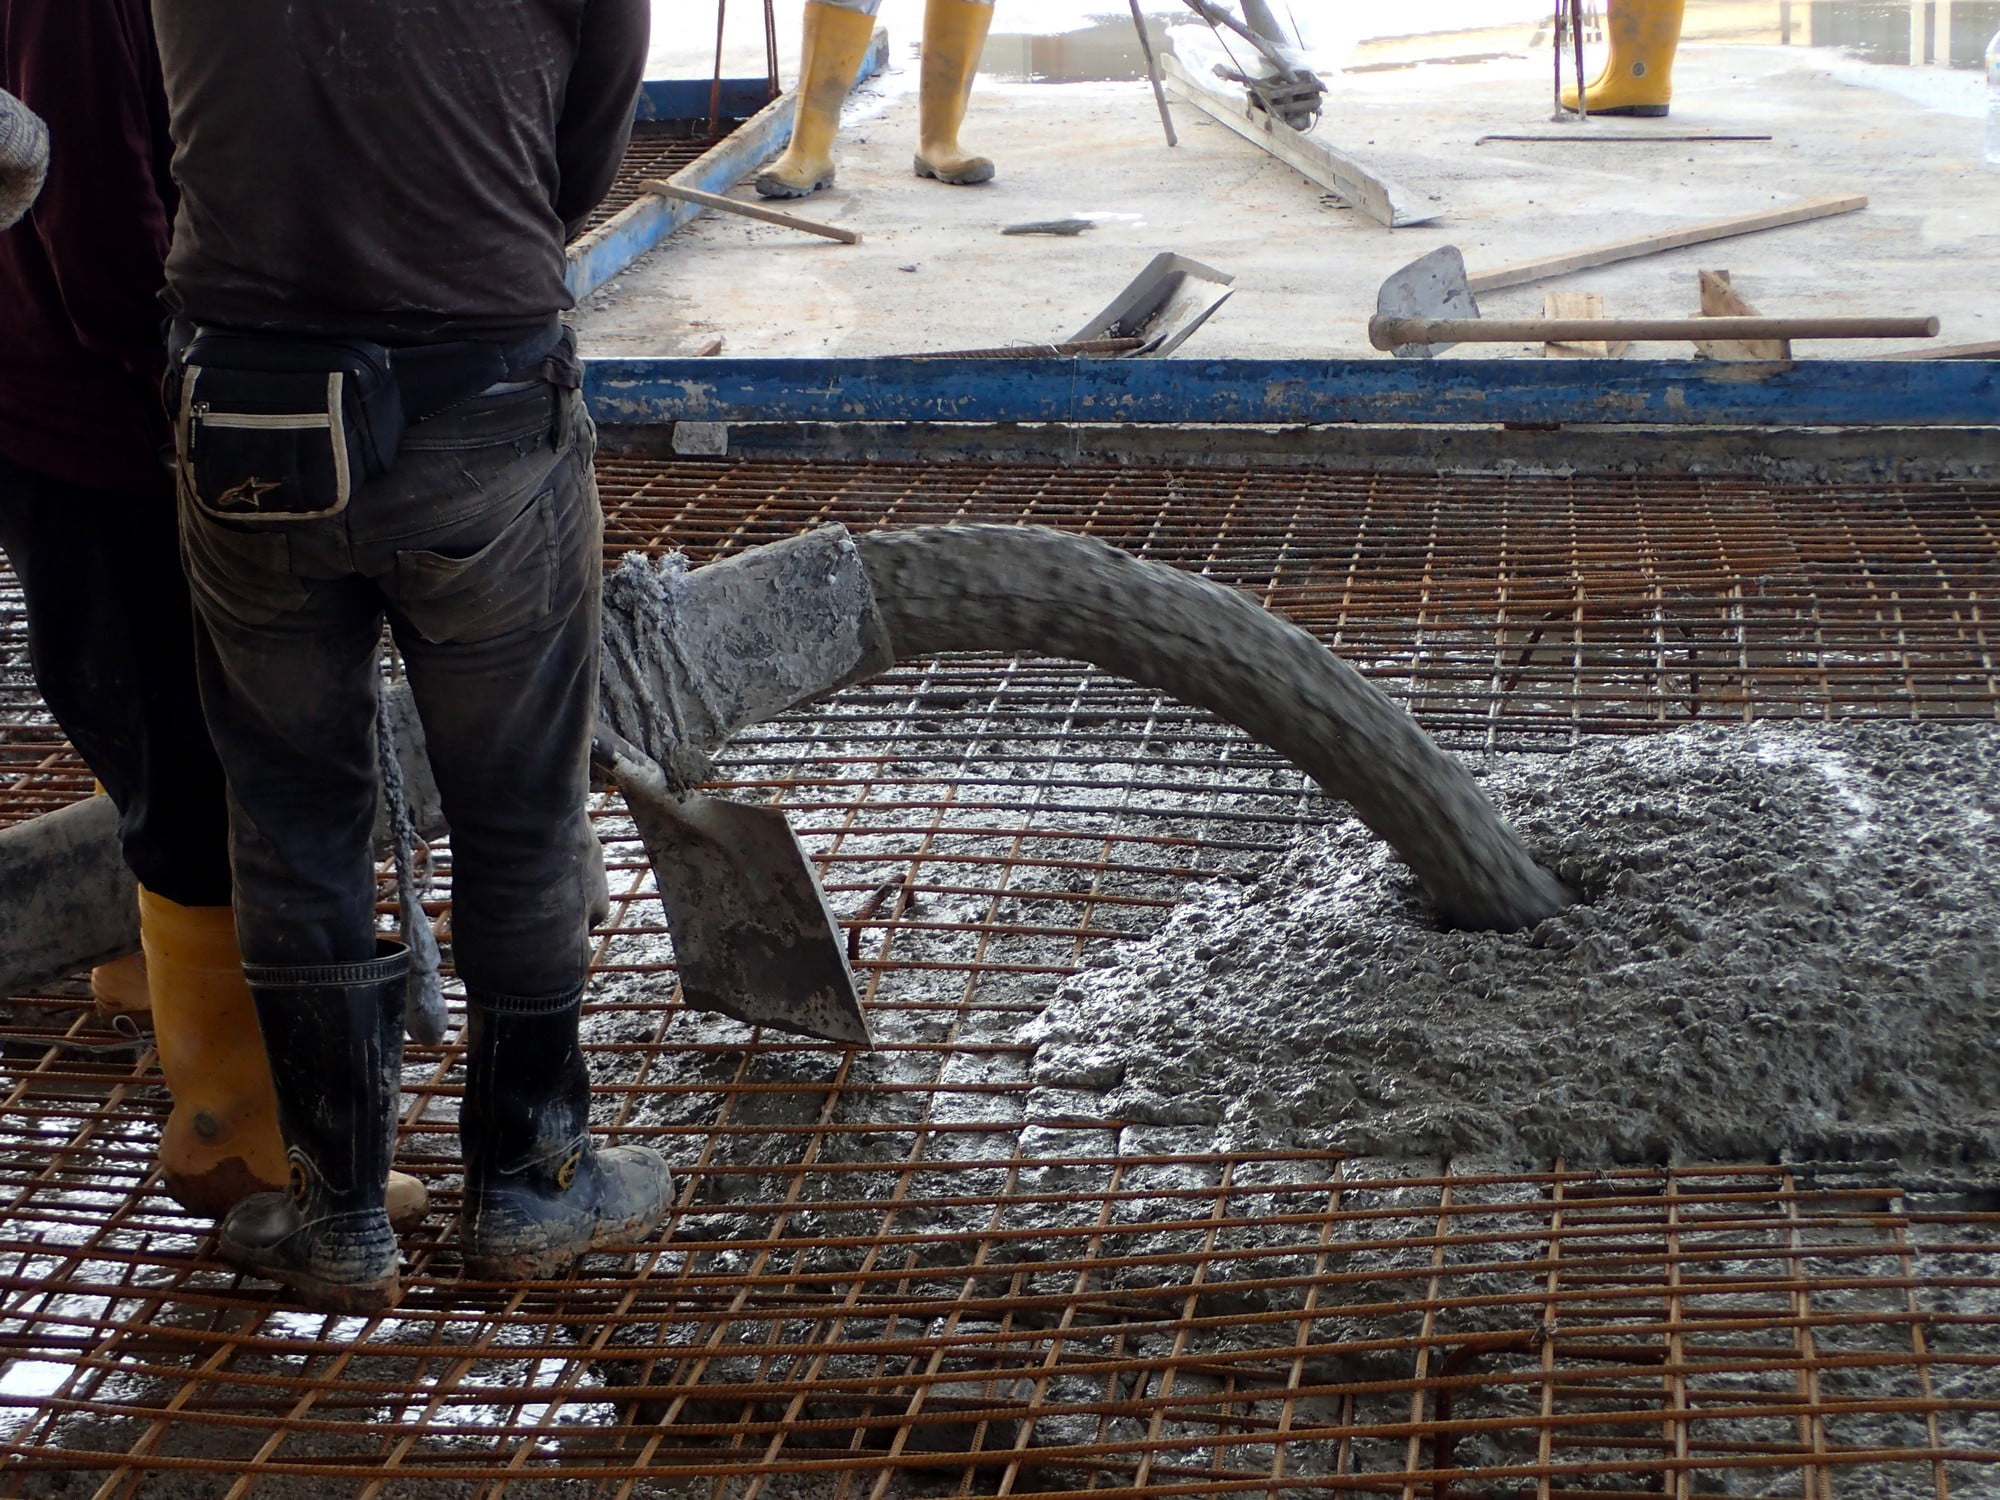
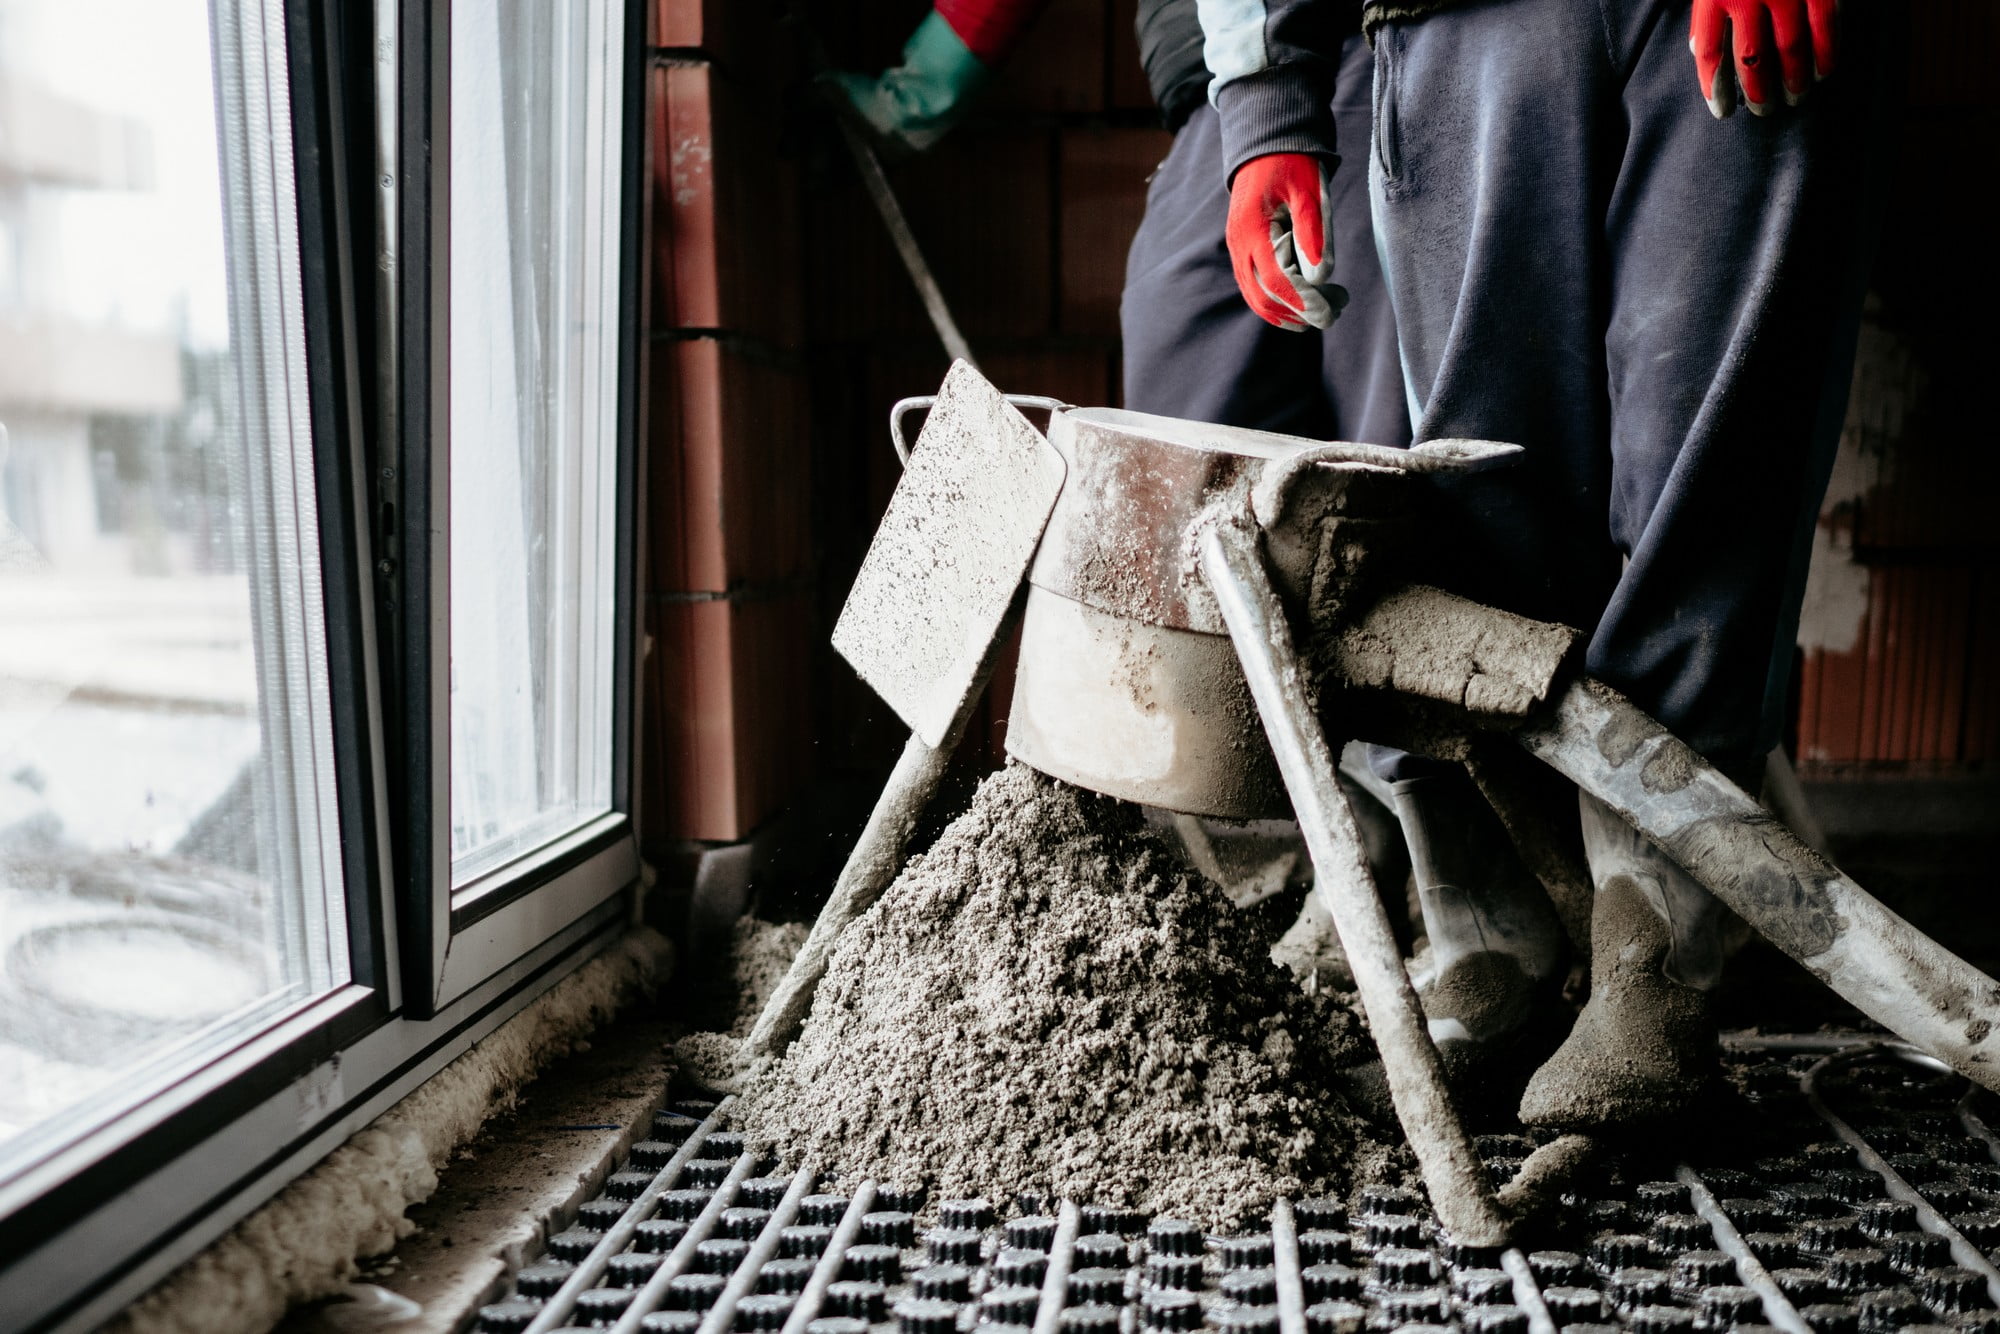
Screed is essentially a layer of material, typically made from cement, sand, and water, applied over a concrete subfloor. It creates a smooth, level surface ideal for final flooring finishes like tiles, carpets, or wood. At Four-Four Finishes, we offer professional floor screeding services to ensure your flooring project starts on the right foot.
Call us on 07824859412

Factors Influencing Screed Drying Time
1. Type of Screed
Different types of screed have varying drying times:
- Traditional Sand and Cement Screed: Typically takes about 1mm per day to dry up to the first 50mm, then approximately 0.5mm per day beyond that.
- Anhydrite/Calcium Sulphate Screed: Dries approximately 1mm per day under optimal conditions.
- Fast-Drying Screed: Specialised screeds that can be ready to walk on in as little as 12-48 hours.
2. Environmental Conditions
Humidity, temperature, and ventilation play significant roles in how long screed takes to dry. Ideal conditions include:
- Temperature: Aim for 20-25°C.
- Humidity: Should be around 50-60%.
- Ventilation: Proper air circulation helps expedite the drying process.
3. Screed Thickness
The thicker the screed, the longer the drying time. A general rule of thumb is to allow one day per millimetre of screed thickness up to 50mm. Beyond that, it's roughly two days per millimetre.
4. Additives and Mixtures
Using additives can speed up the drying process. For instance, a polymer-modified screed mixture can reduce drying times significantly. However, it’s essential to consult experts, like us at Four-Four Finishes, before opting for mixtures with additives.
Typical Drying Times for Various Screeds
- Traditional Sand and Cement Screed: Generally, 7-10 days for walking on.
- Calcium Sulphate Screed: Approximately 3-7 days for light foot traffic.
- Fast-Drying Screed: Can be ready for foot traffic in 12-48 hours, depending on the product.
Signs Your Screed is Ready to Walk On
Before stepping onto your new screed, there are some signs to look for:
- Surface Hardness: The screed should be hard and resistant to indentation.
- Colour: A uniform, lighter colour generally indicates it's dry.
- Moisture Test: Use a moisture meter to ensure the screed has reached the optimal level of dryness.
Precautions While Allowing Screed to Dry
- Avoid Overloading: Don't place heavy objects on the screed until it's fully cured.
- Monitor Environmental Conditions: Ensure consistent temperature and humidity levels.
- Regular Inspections: Cheque for cracks or other signs of distress regularly.


Expert Advice from Four-Four Finishes
At Four-Four Finishes, we pride ourselves on delivering top-notch floor screeding, plastering, rendering, dry-lining, and more. Our team of experts ensures that your screed dries correctly and efficiently, providing a robust foundation for your flooring.
Additional Services
Did you know we also offer coving? Enhance the aesthetic appeal of your interiors with our comprehensive coving services, designed to add a touch of elegance to any room.


Conclusion
Understanding how long for screed to dry walk on is not just about waiting a set number of days. It involves considering the type of screed, environmental conditions, thickness, and potential additives. By paying attention to these factors, you can ensure that your screed dries correctly, providing a durable and level foundation for your flooring.
For any professional assistance with floor screeding, or if you have any other construction needs, don’t hesitate to contact us. Our team at Four-Four Finishes is always ready to help, providing services that meet the highest standards of quality and efficiency.
By focusing on these aspects, your screed will not only dry faster but will also maintain its integrity and strength, setting the stage for any subsequent flooring installations. Whether you're embarking on a new build or refurbishing an existing property, understanding the drying time for screed is crucial. And, when in doubt, always seek professional guidance to ensure the best results.

